
Working on a Greenhouse
Lately, the farm update includes: snow, Snow and MORE SNOW. The blanket of white has been sticking around for quite a while. It’s beautiful, blinding and slows down most preparations for springtime.
Just before the snow fell, I put up my little lean-to greenhouse. It was the old one from the fabled Greens Garage on Roger Road here in Floyd. Still useful, I worked on disassembling it over a couple days and tool the usable part back to my land.
What I kept: 7 bows, 7 ground posts, and two treated 4” x 4” x 10’s
What I dumped: old plastic, wood, screws, fasteners.
What I bought new so far: landscape Fabric, greenhouse plastic, lumber, fasteners, wiggle wire and channel.
The ground posts were set in concrete- and there was some wrestling involved with getting them out of the ground.
Back at my place I decided to put it up on the side of our little shed - a somewhat sunny place. I removed a small poplar tree on that site and began work leveling the site out with a tractor.
The basic steps were…
Leveling and tamping the site
Flashing the opening on the bottom of the shed
Cardboard mulching
Landscape Fabric (extending past the footprint)
Square up, Layout, & Hammer in ground posts
Attach bows to wall with home-made rig.
Level each of the hip bends and drill and bolt in place
Attach baseboard & hip-boards (level)
Use old 4 x 4 for endwall baseboards
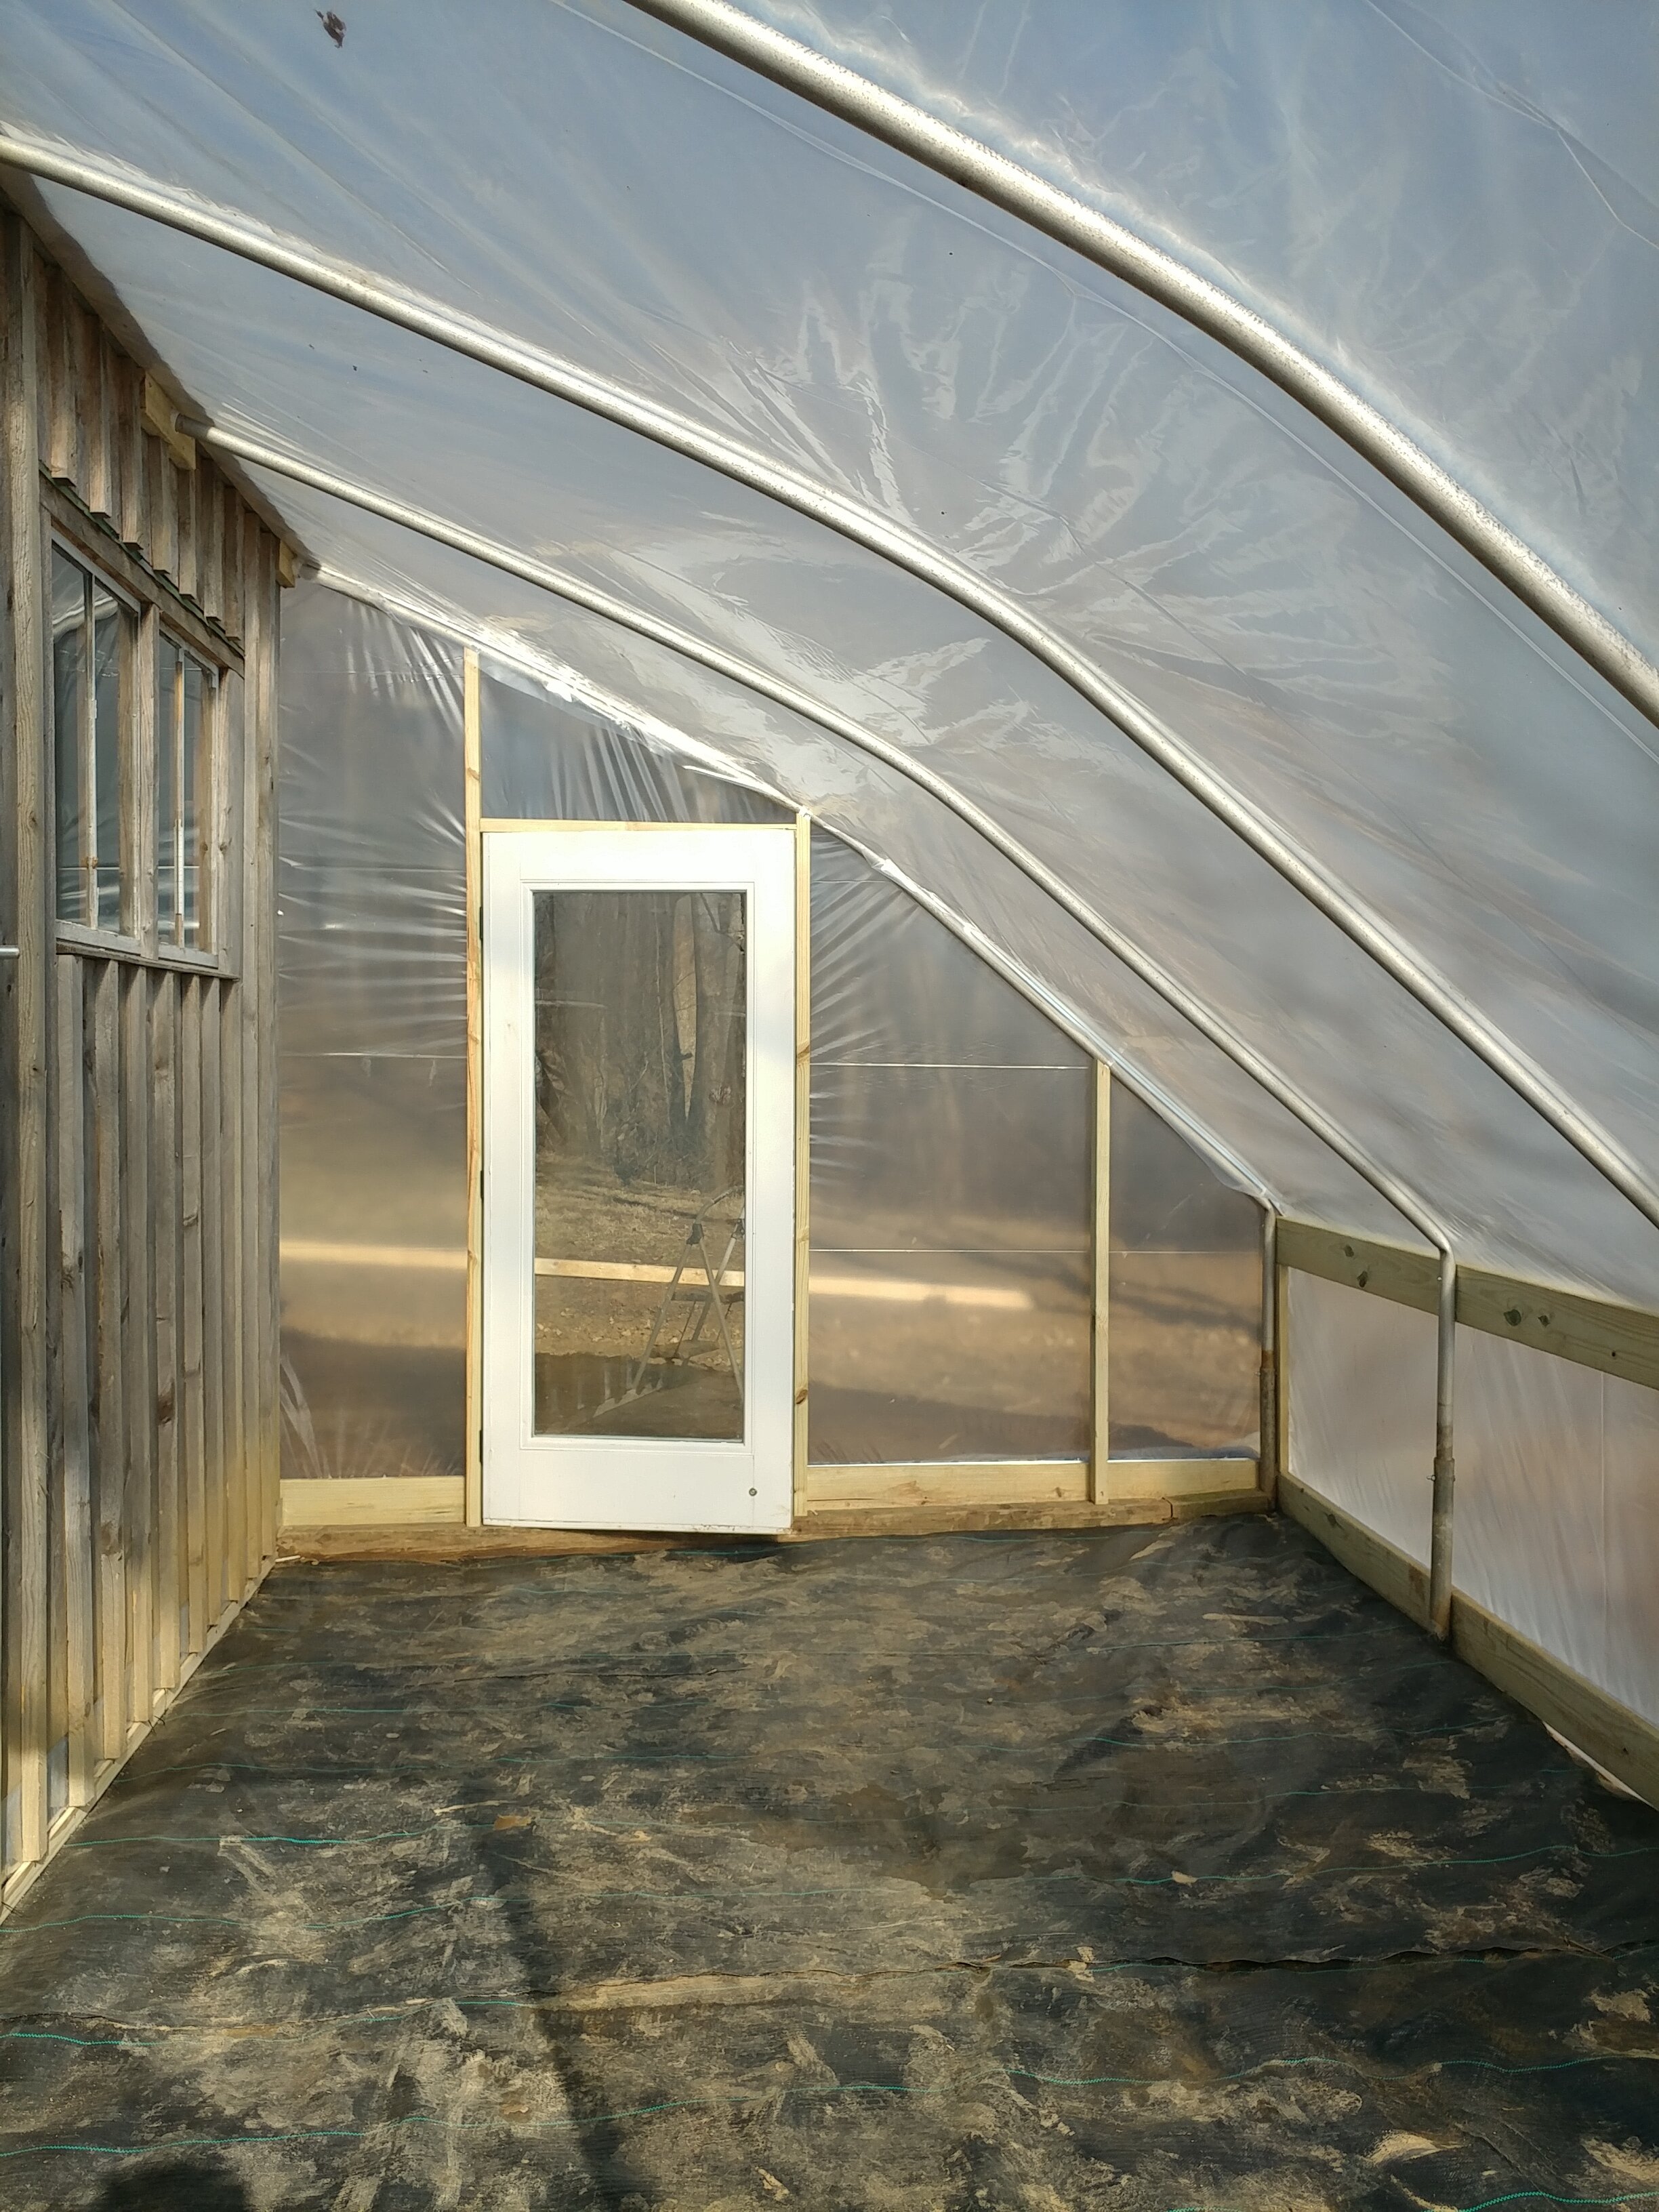
Endwall framing for used doors and vents
Door installation
Wire channel installation
Endwall plastic install
Main plastic install
Gravel gutter & woodchips

Since I am waiting on financing for the business to come through, that’s about as far as I can go for now. But I am trying to figure up what my best heating options are- best for cost, climate, and efficiency.
Because the greenhouse is SO tiny compared to most structures I haven’t been able to find a right-size propane forced air heater. 16K - 20K BTU is all it would take for this small space and the smallest vented greenhouse heaters are in the 40-50 BTU range. There are many small propane heaters out there- but in a greenhouse they must be direct vented to the outside so that condensation isn’t added to the space. This led me to look into a cost comparison with electric and on paper, it has come up quite comparable to the cost of propane- not a huge savings in monthly operation but cheaper up front. I’ve always liked the idea of heating the tables instead of the air (or at least to offset it) so that is my basic plan for this house going forward.
I hope to use electric heating wire, secured on top of old insulated cooler panels, and covered with metal mesh & masonry of some kind (thinset mortar or concrete resurfacer?) and then control the heating wires with a thermostat outfitted with a probe sensor. My hope being that the heat will be localized right by the plants themselves- and HEY if I could also make these tables into big bottom watering troughs- even better. More on that to come soon.
Until then, I thought I might share some resources that I have found useful in determining the heating needs, costs, and comparisons for this small space.
http://www.littlegreenhouse.com/heat-calc.shtml
http://www.littlegreenhouse.com/fan-calc.shtml
http://www.littlegreenhouse.com/area-calc.shtml
https://www.fs.fed.us/rm/pubs/rmrs_p072/rmrs_p072_062_065.pdf